axis2創建web service(一)
http://blog.csdn.net/chnic/archive/2008/03
/13/2179760.aspx
http://www.javaeye.com/topic/284387
axis2 是新一代的web service開發工具,它會讓你的web
service開發變得輕松,快捷。下面讓我們以一個實際的例子來體驗一下。
首先,工欲善其事,必先利其器。就讓我們先做好一些必備的準備工作吧。
1.下載axis2 的2進制的包和war,現在的最新版本是1.4.1
發布時間是2008-8-25
地址 http://ws.apache.org/axis2
具體的1.4.1版本的http://ws.apache.org/axis2/download/1_4_1/download.cgi
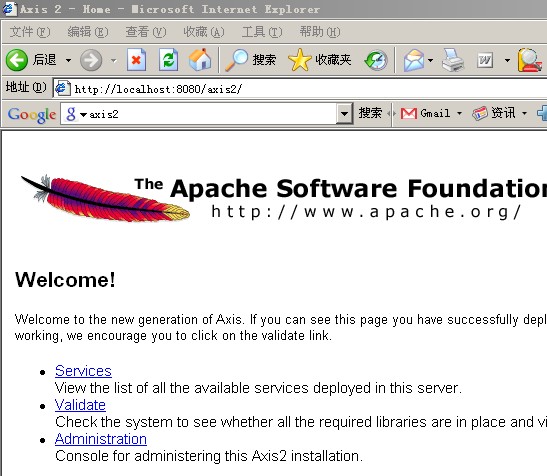


2.把下載后的war放入tomcat的webapps目錄里,然后啟動tomcat,這樣war包就會自動解壓為目錄axis2
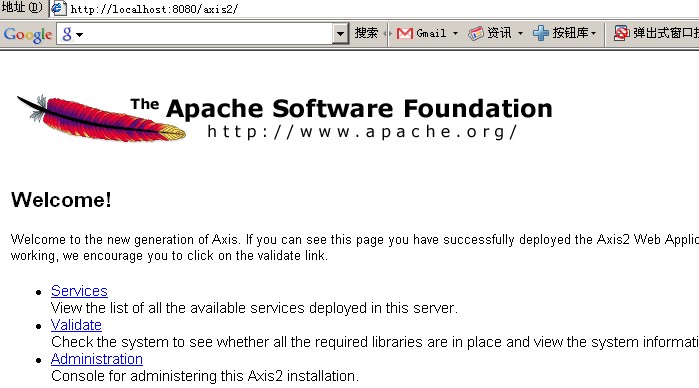
在瀏覽器中輸入http://localhost:8080/axis2/ ,如果一切正常你會看到下面的畫面
3,就開始準備一下axis2的eclispe的插件
了。axis2的eclispe插件分為2個,一個是幫助我們生成aar文件的,另一個是幫
我們用wsdl文件生成stub代碼的。
下載地址是
http://www.apache.org/dyn/mirrors/mirrors.cgi/ws/axis2/tools/1_4_1/axis2-eclipse-service-archiver-wizard.zip
http://www.apache.org/dyn/mirrors/mirrors.cgi/ws/axis2/tools/1_4_1/axis2-eclipse-codegen-wizard.zip
下載完2個壓縮文件后,可以直接把解壓后的文件拷貝到plugins目錄中,也可以在links目錄中寫文件路徑的方式來安裝插件,安裝完插件后,
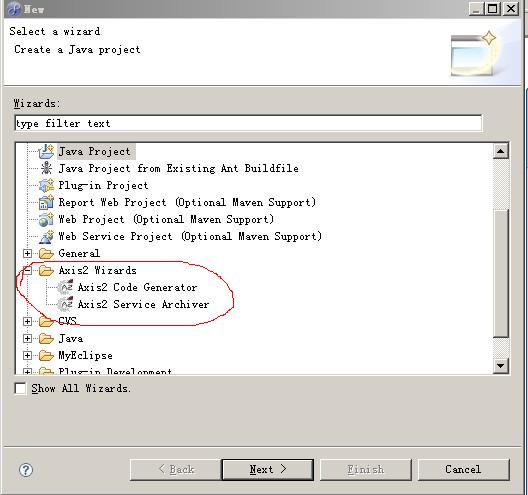
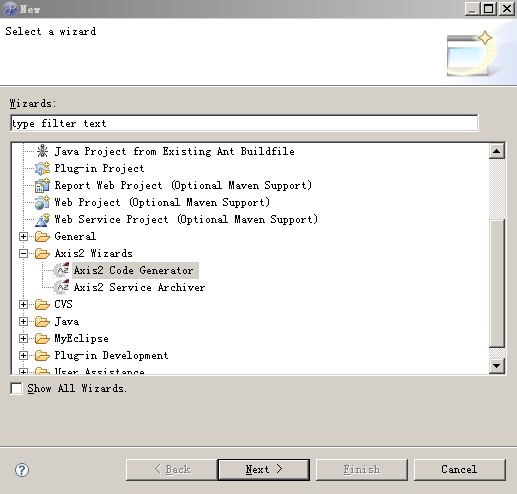
打開eclipse,在package explorer 中點擊右鍵--->選擇new---->other
如果安裝正確你會看到

這樣準備工作就都做好了。接下來就是正式開發了。
開發的過程,下回分解。。。。。
工具都已經準備齊全了。我們來動手做一個小例子來小試牛刀!
這一節我們先利用axis2來發布一個web service 的服務,然后在下一節我們做一客戶端來調用這個服務。
我們的服務很簡單的,就是輸入一個字符串,然后打印出一段字符串。
代碼很簡單,主要是測試用。
- package com.deltaj.server;
-
- public class SimpleServer {
-
- /**
- * 簡
單的測試方法
- *
- */
- public String simpleMethod(String name) {
- return name + "Say this is a Simple method ^-^";
- }
-
- }
package com.deltaj.server;
public class SimpleServer {
/**
* 簡單的測試方法
*
*/
public String simpleMethod(String name) {
return name + "Say this is a Simple method ^-^";
}
}
主要的過程就是如何利用axis2的eclispe插件來發布這個服務啦。
1。在eclispe 的package Explorer
中點擊右鍵,在菜單中選擇新建--->other...----->Axis2 Service Archiver


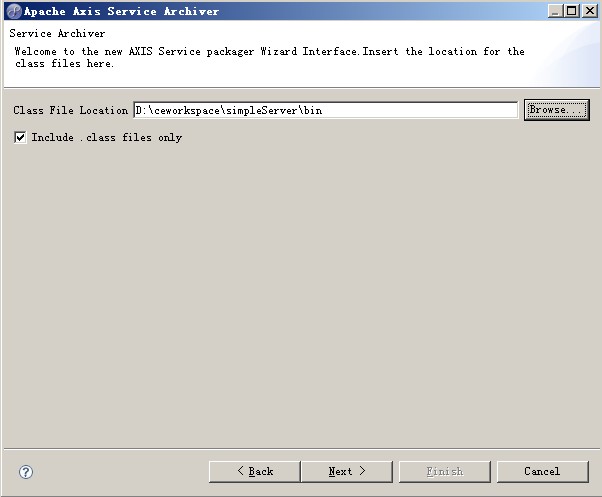
2.然后點擊next進入了類選擇頁面,在這個頁面中的Class File Location選擇框中選擇類所在的文件夾。

3.點擊next之后進入了選擇 wsdl文件,這里我們選擇skip wsdl。


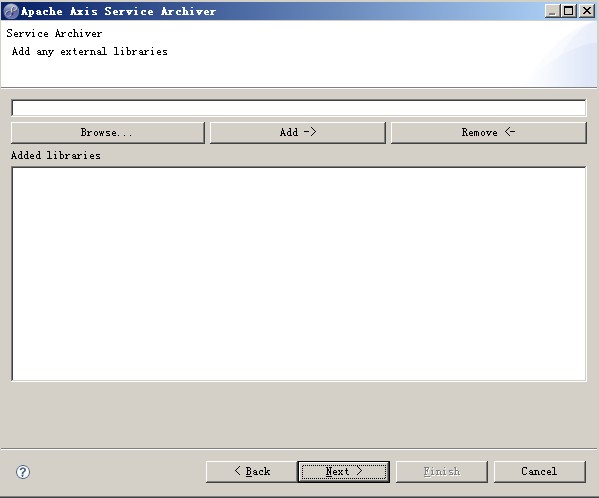
4. 點擊next之后,進入的是選擇jar文件的頁面,這里我們沒有外部的jar,所以點擊next直接跳過這個頁面。

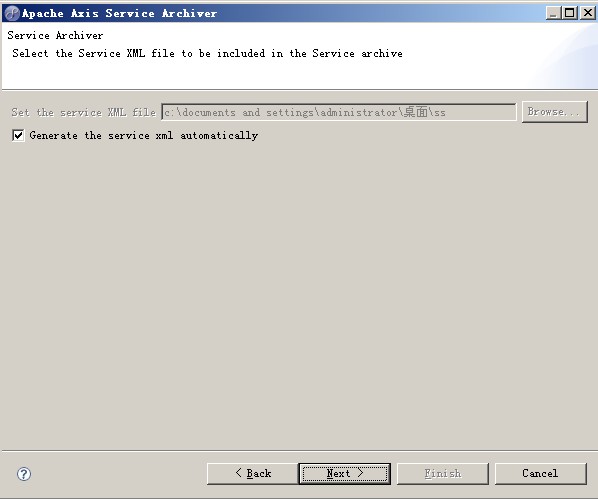
4.點擊next之后,進入的是選擇xml頁面,這里我們選擇的是自動生成xml,也就是勾選
Generate the service xml automatically這一項

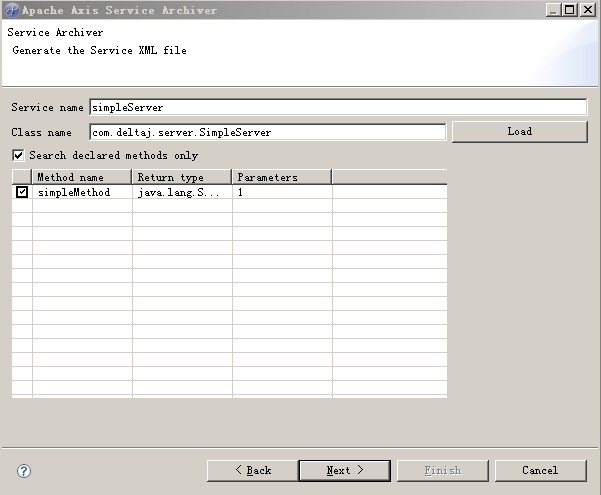
5.點擊next之后,進入的是生成xml文件的頁面,在service name
里填寫這個服務所起的名字,這里我起名為simpleServer,然后在class name
中填寫要發布的類,這里一定要寫全路徑,寫好后就可以點擊load 按鈕,如果一切ok的話,你會看到如下畫面

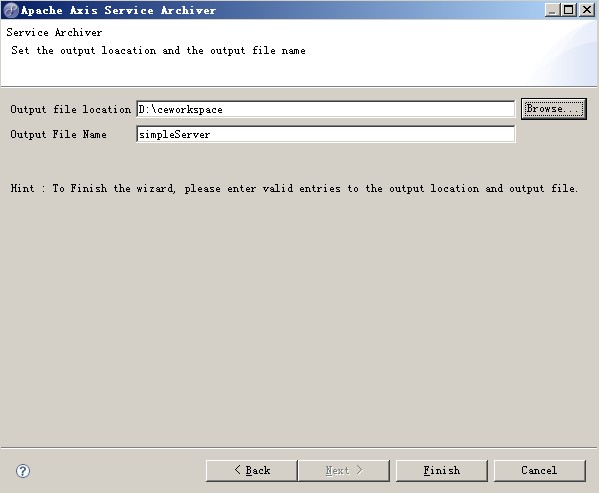
6 點擊next 后,進入的是輸出artiver文件的頁面,先要在output File location 中選擇要輸出的路徑,
在output File Name中輸入artiver文件的名稱。我起的名字是simpleServer

7.點擊finish ,如果看到如下的畫面,恭喜你,服務發布成功啦


8.接下來,我們就可以把這個aar文件放入tomcat中發布,首先把生成的aar文件拷貝到tomcat目錄中的axis2項目的
service目錄中位置如圖。


9.接下來啟動tomcat,在地址欄中輸入http://localhost:8080/axis2 ,
你會看到axis2的歡迎畫面

10.點擊Service連接,你會看到發布的服務列表。這里面就能看到我們發布的simpleService


11.點擊我們的服務simpleServer的連接,我們會看到。至此,服務發布成功。


這節我們就來寫一個客戶端來調用一下這個服務。主要關注一下如何用elispe的axis2的插件來生成stub代碼。
1.在eclispe 的package Explorer
中點擊右鍵,在菜單中選擇新建--->other...----->Axis2 Code Generator

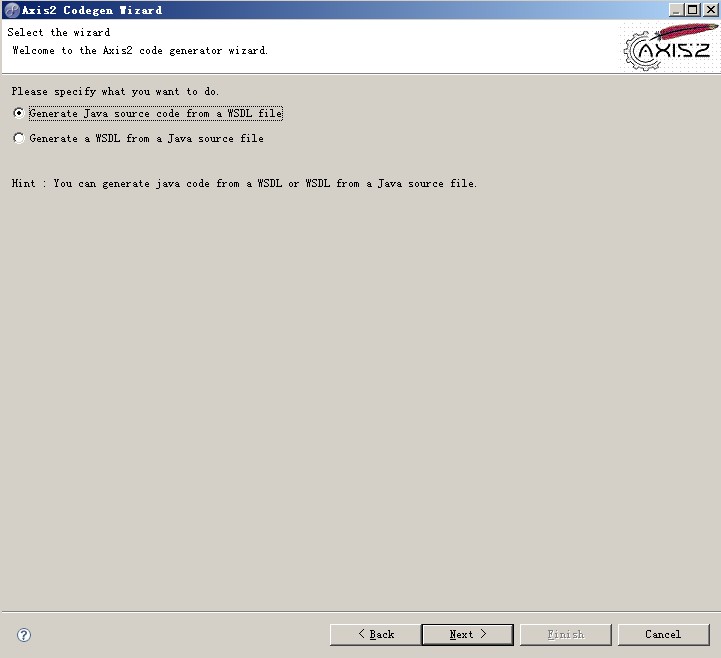
2.點擊next,進入下一個頁面,選擇從wsdl文件來產生java文件。
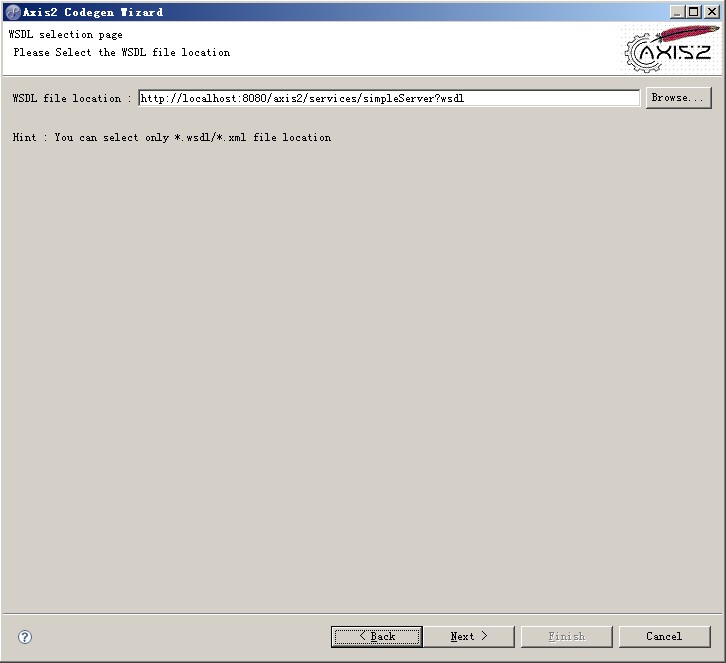
3. 點擊next,然后選擇wsdl文件,注意此處要填寫上一節我們
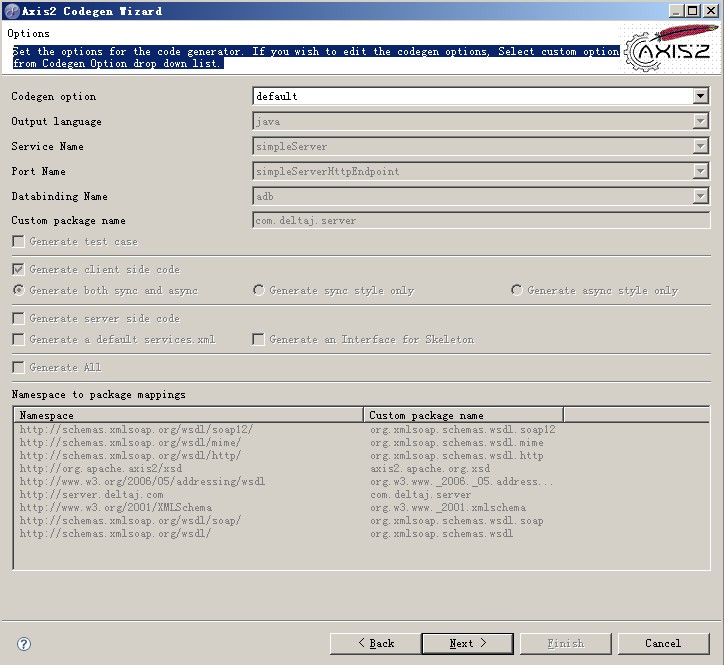
4.點擊next,進入設置頁面,這里我們就用默認的設置。
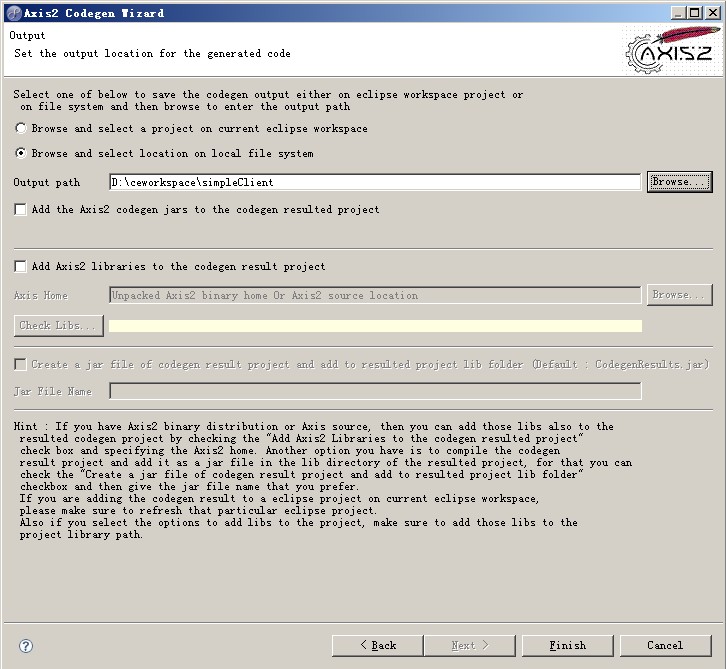
5. 點擊next,選擇輸出文件的路徑。
(出錯解決方案:
除了把backport-util-
concurrent-2.2.jar加到lib中, 加<library
name="lib/backport-util-concurrent-2.2.jar">
<export name="*"/>
</library> 到plugsin.xml
還要
1.
把Axis2_Codegen_wizard_1.3.0(eclipse/plugins/Axis2_Codegen_wizard_1.3.0)的
名字改成Axis2_Codegen_wizard_1.4.0
2. 在plugin.xml中在<plugin>中
把Axis2_Codegen_wizard的version="1.3.0"改成version="1.3.0"
在MyEclipse6.5中會報錯:
An error ocurred while completing process
-java.lang.reflect.InvocationTargetException
主要的問題在于 Code Generator plugin 內缺少了 backport-util-concurrent-3.1.jar
包和geronimo-stax-api_1.0_spec-1.0.1.jar 包。
[解決方案] :
1.關閉 Eclipse
2.copy %AXIS2_HOME%"lib" 下的
backport-util-concurrent-3.1.jar 和 backport-util-concurrent-3.1.jar
復制到 MyEclipse 6.5"eclipse"plugins"Axis2_Codegen_Wizard_1.3.0"lib
文件夾下。
3.注冊此 jar 包:
修改MyEclipse
6.5"eclipse"plugins"Axis2_Codegen_Wizard_1.3.0"plugin.xml 文件
在 <runtime> 內加入下面的字串
<library name="lib/geronimo-stax-api_1.0_spec-1.0.1.jar">
<export name="*"/>
</library>
<library name="lib/backport-util-concurrent-3.1.jar">
<export name="*"/>
</library>
到plugin.xml文件中,保存后重新啟動Eclipse即可。
)
6.點擊next,如果看到這個頁面,恭喜你已經生成代碼成功。
7.在package
Explorer中刷新一下項目,然后你發現出現2個新的文件SimpleServerStub和
SimpleServerCallbackHandler 。打開SimpleServerStub你會驚喜的發現。著名的小紅叉一個接一個的
這是因為沒有axis2的類包。我們可以在下載的axis2-1.4.1-bin中找到lib包,把其中的jar都加入我們的工程中。
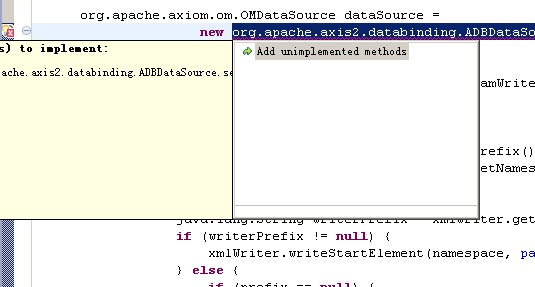
然后重新編譯一下工程,這時我們發現SimpleServerStub還是有幾個小紅叉。這個是因為這個插件有個小bug。
生成的代碼沒有實現序列化方法。我們可以自己來加上,在小紅叉上點一下,彈出一個小菜單,選擇
Add unimplemented methods .

8.
- /**
- * 調
用發布的服務。
- *
- */
- public class SimpleClient {
-
- public static void main(String[] args) throws Exception{
-
- //初始化樁文件
- SimpleServerStub stub = new SimpleServerStub();
- //初始化SimpleMethod方法。
- SimpleServerStub.SimpleMethod request = new SimpleServerStub.SimpleMethod();
- //調用simpleMethod的setName方法。
- request.setName("zt");
- //
- System.out.println(stub.simpleMethod(request).get_return());
-
-
- }
- }
/**
 * 調用發布的服務。
 *
 */
public class SimpleClient {

 public static void main(String[] args) throws Exception{

  //初始化樁文件
  SimpleServerStub stub = new SimpleServerStub();
  //初始化SimpleMethod方法。
  SimpleServerStub.SimpleMethod request = new  SimpleServerStub.SimpleMethod();
  //調用simpleMethod的setName方法。
  request.setName("zt");
  //
  System.out.println(stub.simpleMethod(request).get_return());


 }
}
如果一切正常,你就會看到結果
log4j:WARN No appenders could be found for logger
(org.apache.axis2.description.AxisService).
log4j:WARN Please
initialize the log4j system properly.
ztSay this is a Simple method
^-^。
調用服務成功。這是個簡單的例子,下節我們再做一個復雜一點的例子,來更好的學習axis2